Welcome back to our How to Draw for Kids series! In this installment, we’ll guide your child through drawing a charming fox using simple shapes and easy steps. All you need is a pencil, an eraser, some paper, and optional coloring supplies like crayons or markers.
A printable PDF of this tutorial is available below, perfect for screen-free drawing sessions.
Begin by sketching a shape that’s rounded at the top and bottom, tapering to a point on each side – this will form the fox’s head.
Step 2:
Draw two triangular ears on top of the head. Then, add a fluffy patch below the head to represent the fox’s chest fur.
Step 3:
Sketch two front legs descending from the chest. Above, add two small circles for the eyes.
Step 4:
Behind the front legs, draw the hind legs with curved lines. Then, add a small oval extending from the head for the snout.
Step 5:
Inside each ear, draw a smaller triangle to show the inner ear. Add a curved line on the snout to represent a cheerful smile.
Step 6:
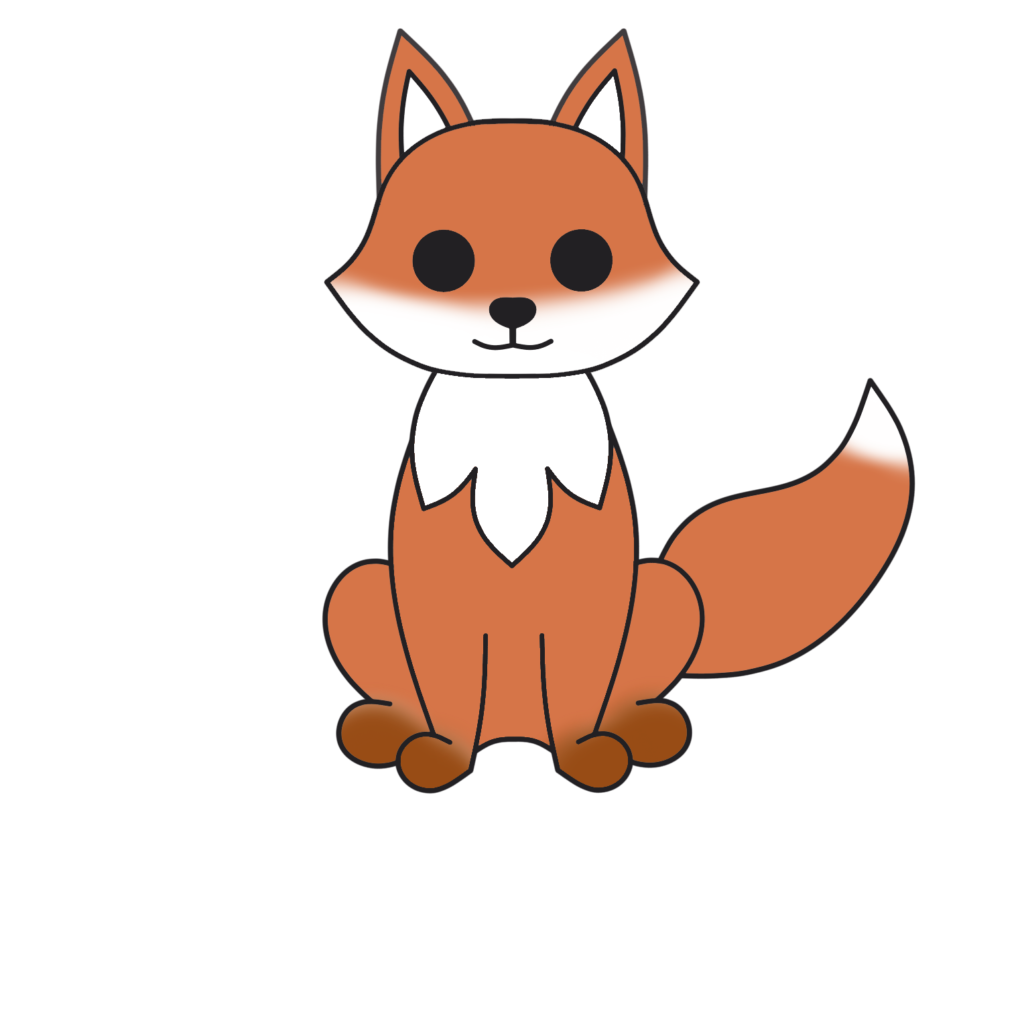
Finally, sketch a large, bushy tail. You can make it as fluffy as you like!
Once your fox is outlined, it’s time to bring it to life with color! Traditional foxes are orange with white accents, but feel free to get creative with your palette. Remember, the goal is to have fun and express your creativity!
If your child enjoys these step-by-step tutorials, we highly recommend the book:
It’s packed with fun and easy drawings that kids can follow, and it covers everything from animals to silly snacks. A perfect next step for nurturing creativity at home.
And don’t forget to check out our own books too – full of fun puzzles, jokes, and learning activities your kids will love!
1 thought on “How to Draw a Fox: Easy Step-by-Step Guide for Kids”
This tutorial is so helpful for kids to learn drawing in a fun and simple way! The step-by-step instructions make it easy to follow, and the use of basic shapes is a great approach. The printable PDF is a nice touch for those who prefer screen-free activities. I love how it encourages creativity with coloring. Do you think this method could also work for teaching other animals?


This tutorial is so helpful for kids to learn drawing in a fun and simple way! The step-by-step instructions make it easy to follow, and the use of basic shapes is a great approach. The printable PDF is a nice touch for those who prefer screen-free activities. I love how it encourages creativity with coloring. Do you think this method could also work for teaching other animals?