Welcome to the first post in our brand new "How to Draw for Kids" series!
In this series, we’ll guide you through drawing simple animals and other adorable things, step by step. All you need is a piece of paper, a pencil, an eraser, and maybe some crayons or markers for coloring. You can also download the full tutorial as a printable PDF below – perfect for screen-free drawing time.
Draw a large circle – this will be the teddy bear’s head.
Step 2:
Add two smaller circles on top of the head to form the ears.
Step 3:
Draw an oval underneath the head for the body.
Step 4:
Add the arms – curved lines coming out from the sides of the body.
Draw a small oval overlapping the lower part of the face for the snout and add two circles for the eyes.
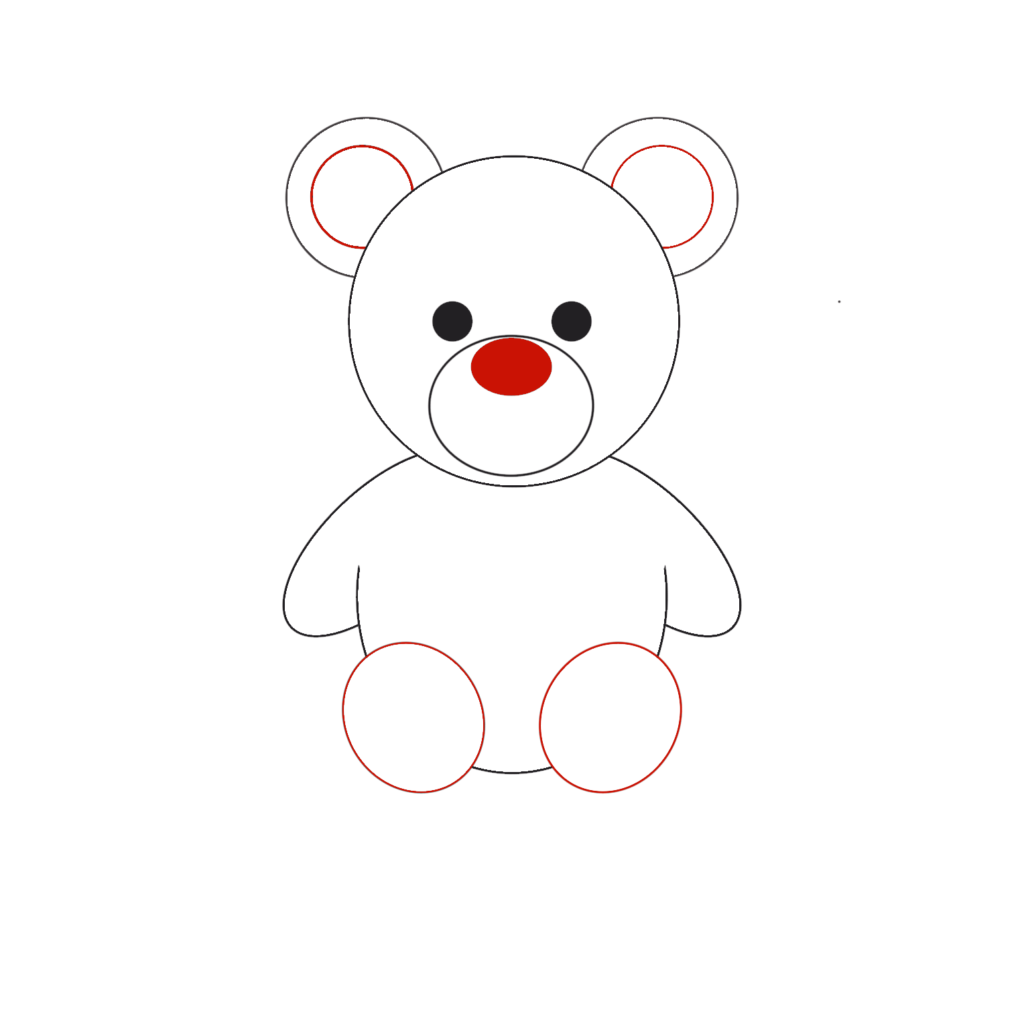
Step 5:
Draw two larger ovals at the bottom of the body to make the feet.
Add a small circle for the nose and two more smaller circles inside the ears.
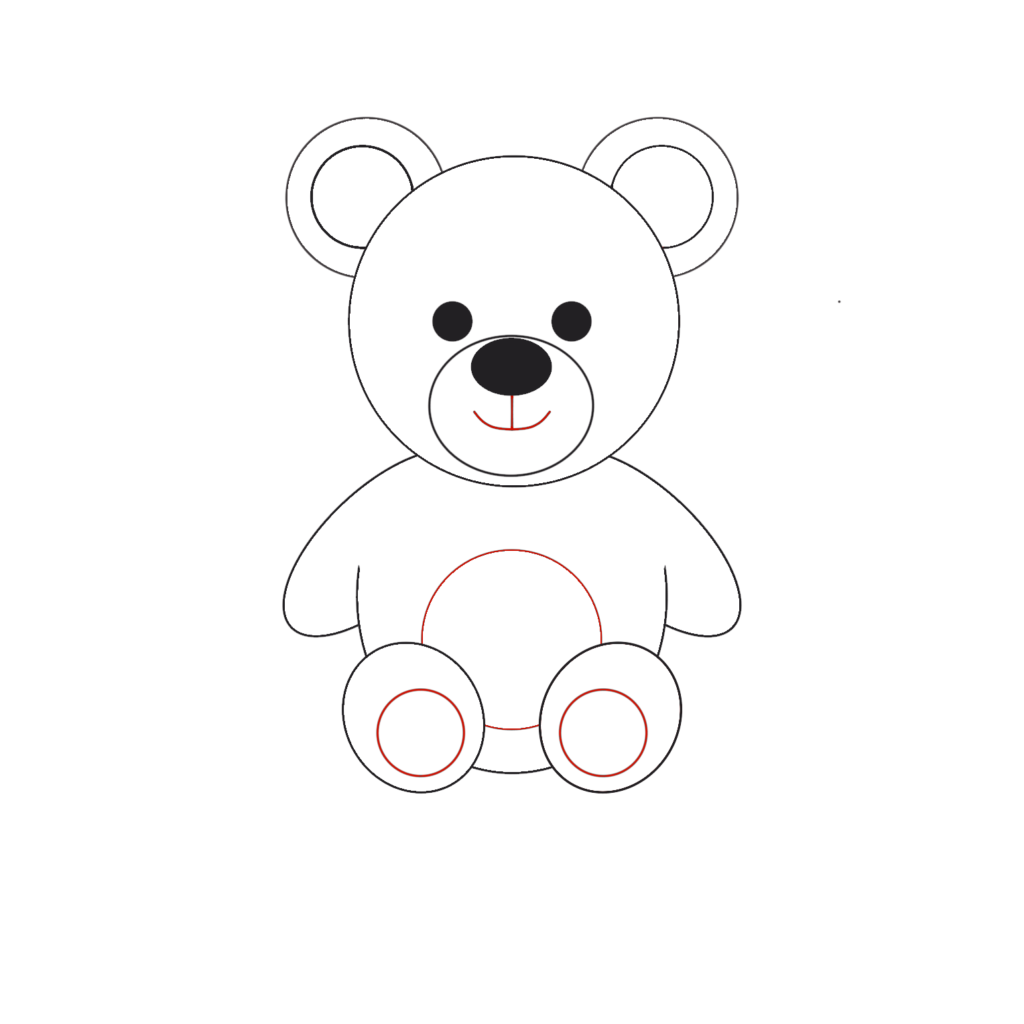
Step 6:
Add two ovals on the feet for the paw pads, a circle on the belly, and don’t forget a big, friendly smile!
Now it’s time to color your bear any way you like. Don’t be afraid to try fun colors, change the shapes, or make your own version. Most importantly: Relax and have fun!
If you’re looking for even more easy and fun drawing tutorials for kids, we highly recommend: